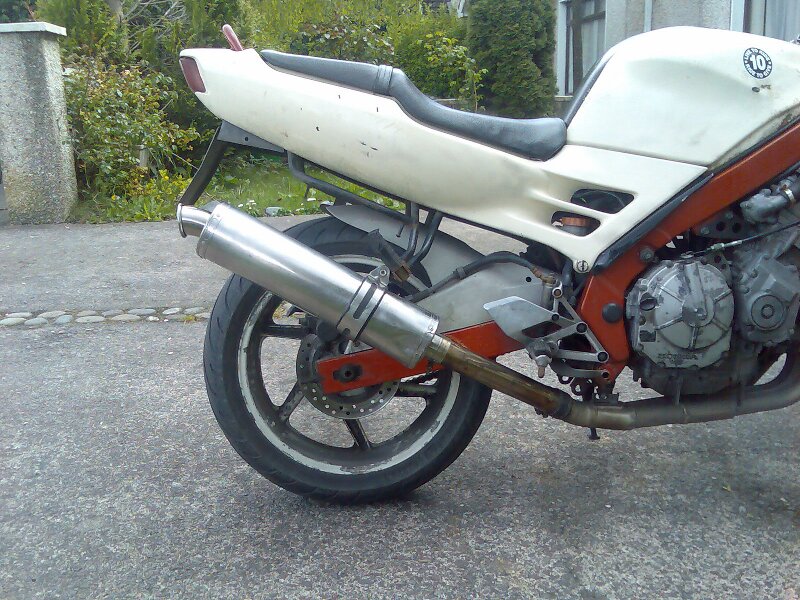
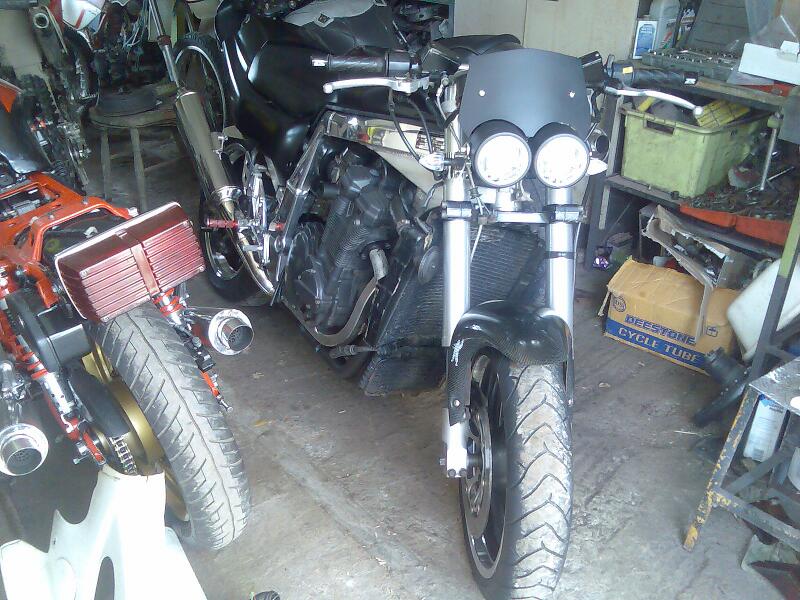
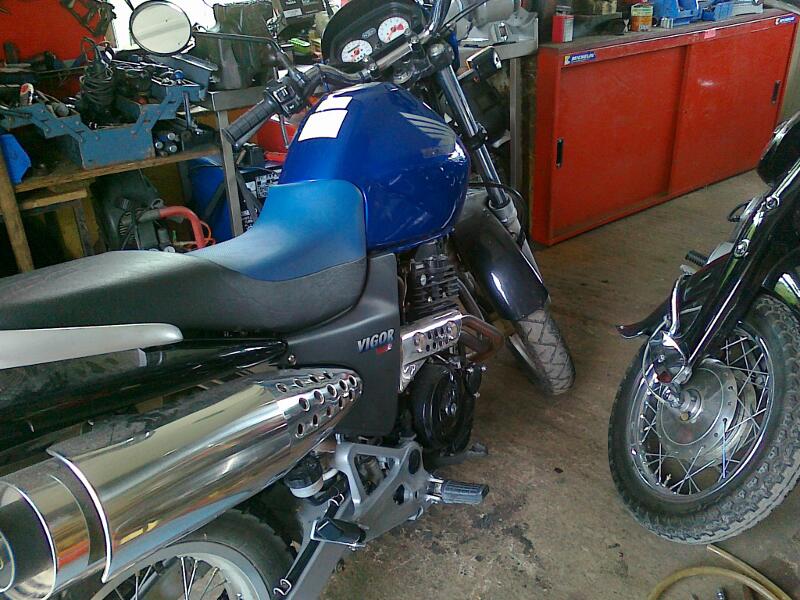
cbr6, R1, and scorpion can.
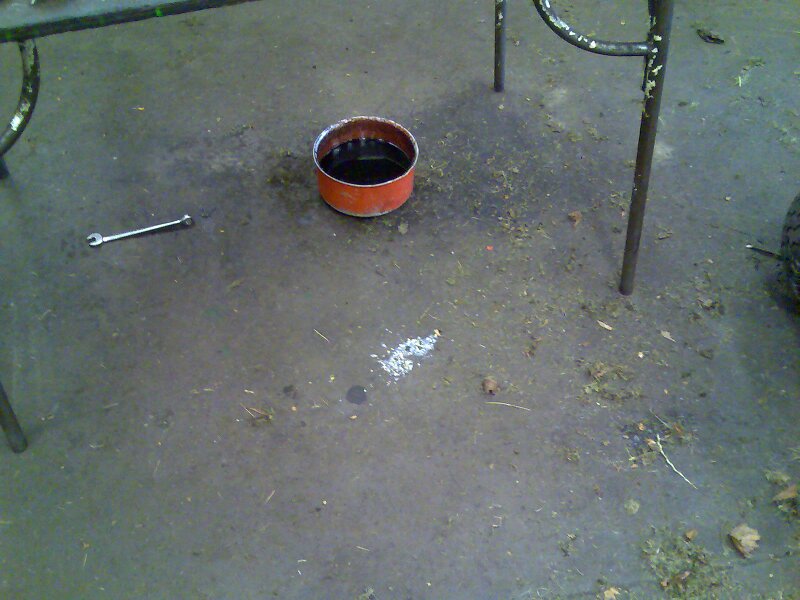
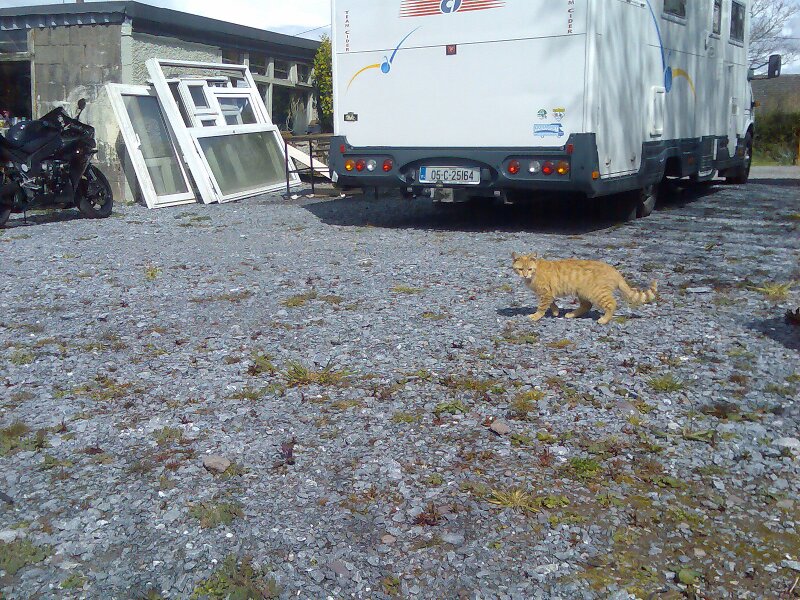
So i was at work the other day an some chickens invaded and shat all over the floor.
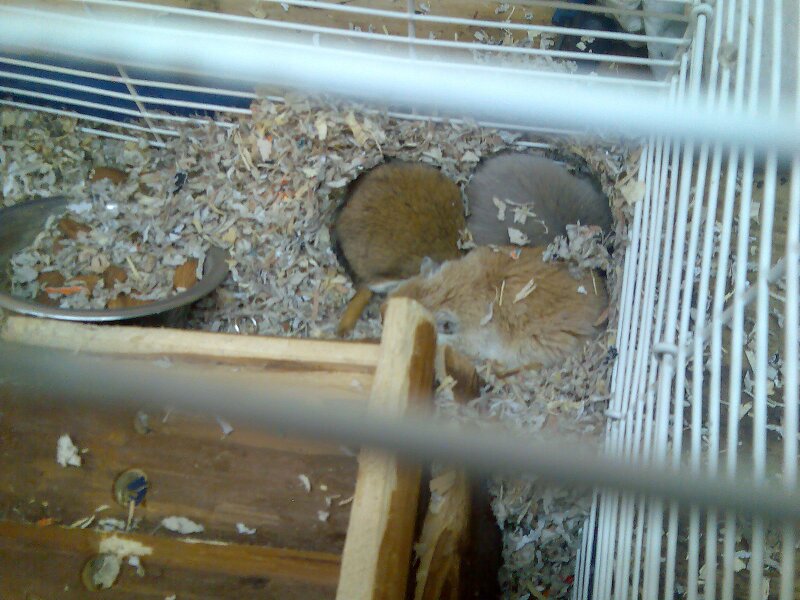
the trained ninja death gerbils didn’t do squat. something about pay, and food. kubota mechanics are such bitches.
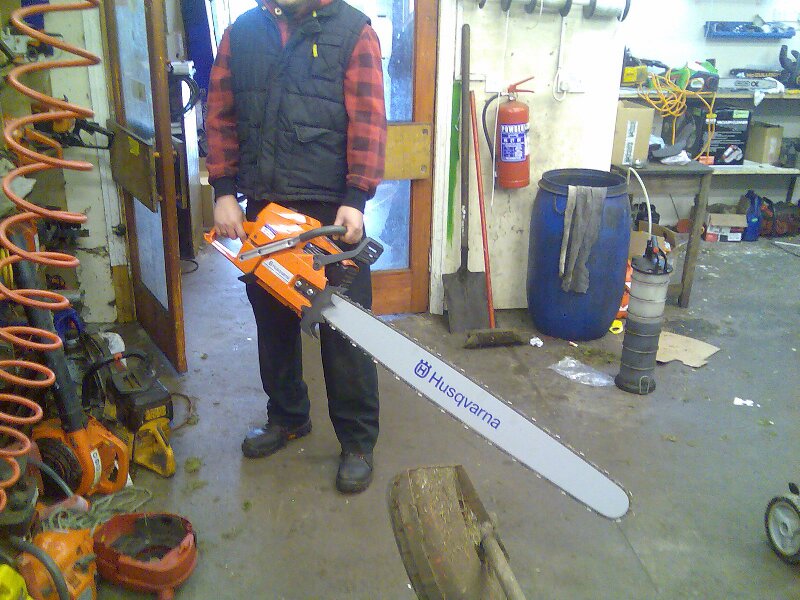
This got the the chicken to retreat. you’d run too if you ever heard a 120cc chainsaw starting up..
What the Fuck has all this got to do with making an r1 link pipe fit a cbr 6 exhaust and a scorpion slipon straight through end can? nothing.
and george don’t give a shite about it either.
Luck.
bad luck, getting a puncture at speed.
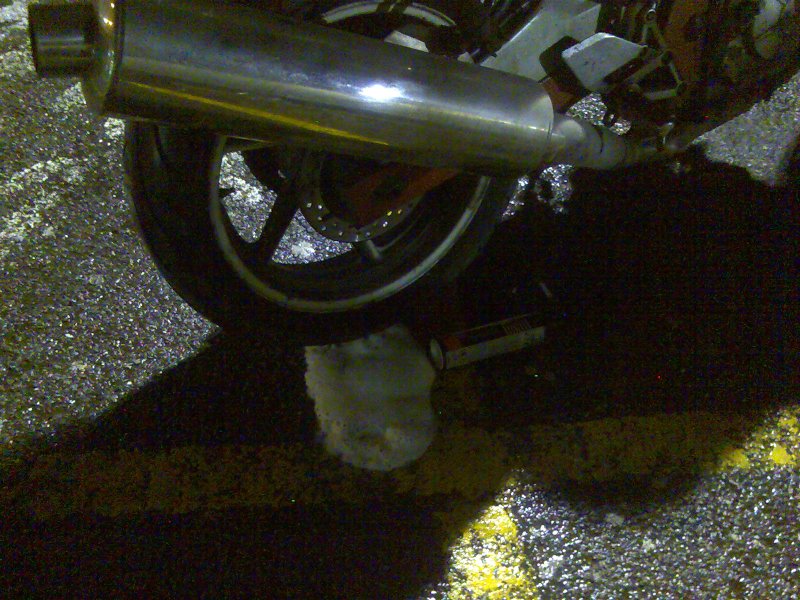
good luck, finding a half spent can of tyre repair at the closest petrol station.
bad luck, hole in the tyre is too big.
good luck, not having to go to work tonight 😀
tomorrows gonna be hard, what the frag am i going to fix? sort the busa? the runner? 10 year old spare cbr6 tyre? star trek like transport system for pizza’s? wouldn’t be such a pain if there was a tyre repair place open…..
STOP! the guards say..
Lights and indicators, cheapo four function trailer lamps will do the job for a few miles until vibration kills em’. Still have to make a new loom for it, all of it. 🙁
looks all nice and legit now……..
Sad News :(
Starting a full time CAD course next monday, 32 weeks of study means no work done. all projects moth balled. Might do something interesting in CAD and post that, clean finger nails for the next 8 months or as long as i can stay away from the shed.
Another surprise in the garage, streetfightered gsxr1100
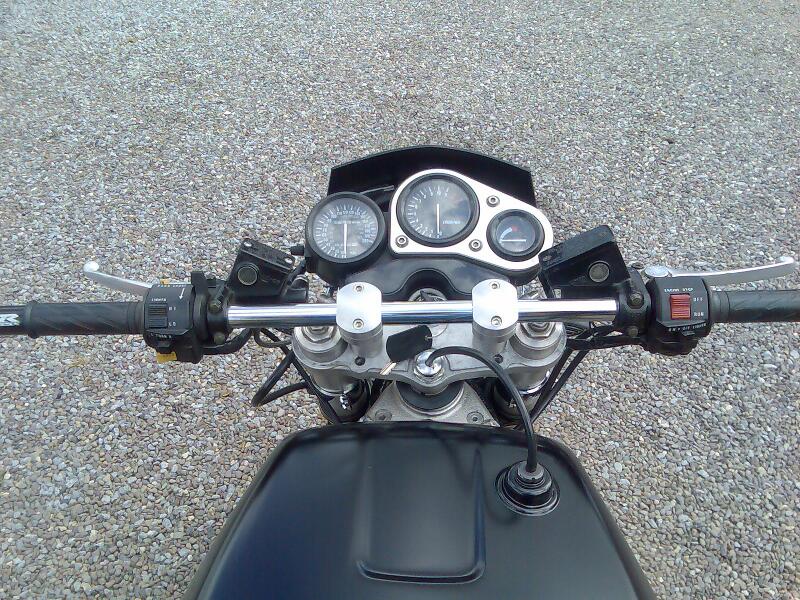
Too cheap for proper bars? can’t imagine the brake/clutch reservoirs work very well either.
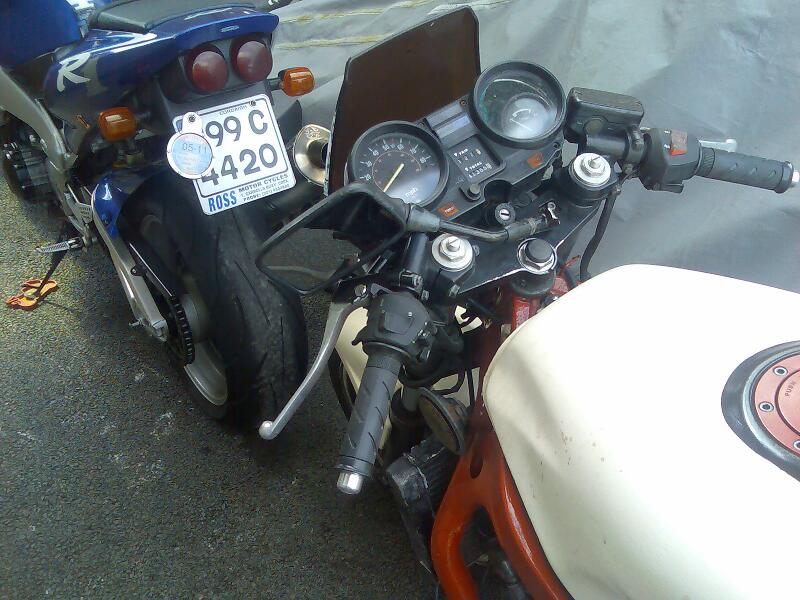
I’d have a standard one please, where the hell is he going with that rear brake pedal?.
I leave my bike at teds place for one night.
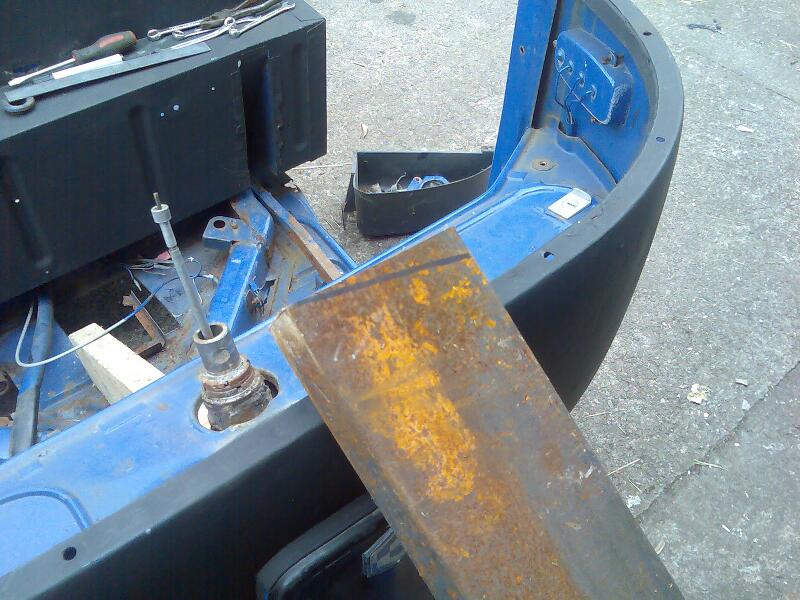
Tuk tuk, new frame.
First up a test peice to help me guestimate the angle I need.
Angle turned out to be quite shallow, didn’t figure on the fact that the head stock its self is inclined back.
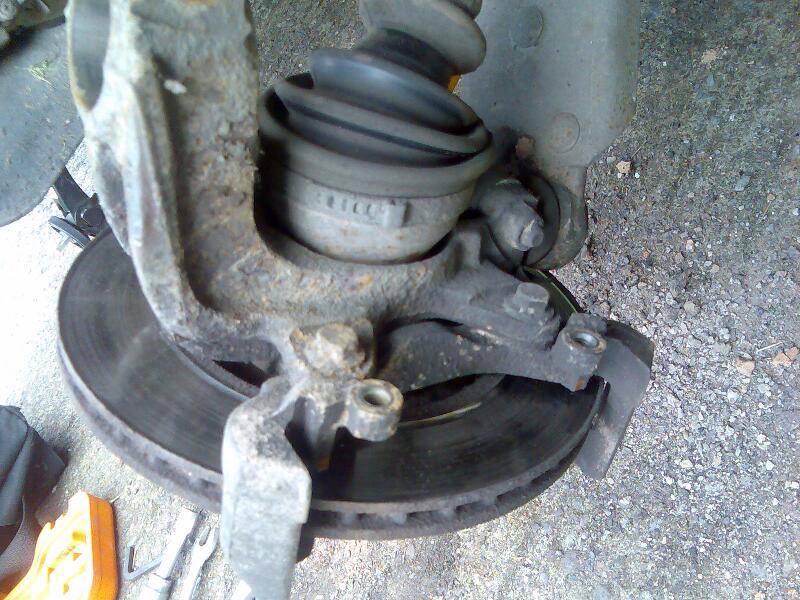
Quick break to do Frostys brakes and a cv joint boot on his fiesta diesel van. took a pic of this hanger because i wonder if i could fit these calipers to the escort mk2 legs.
And a tack weld later, next week we’ll be sorting two more bits to split into a Y back to a more solid part of the frame and then it’ll be final welding. Sort some brakes and some brake lights and it’s off for a spin 🙂
tt-01 semi-rally
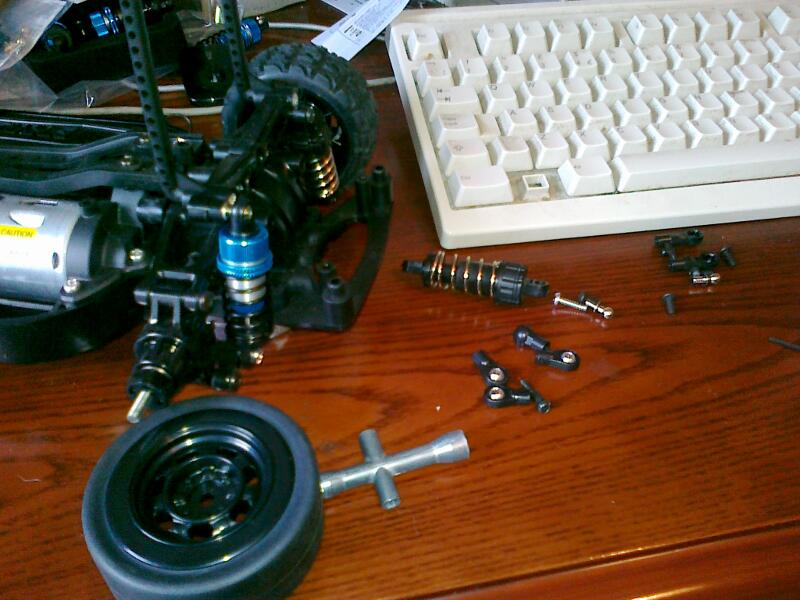
Bits arrived this week for my tt-01, first up was the wheels, disappointed that they need to have the tyres glued on but no biggy, gotta find the time to paint em soon. Then i did the shocks they are ta-05 shocks and came with fine 3mm threaded stuff that didn’t really suit the plastic tt-01 still I battled on and found some long self threading screws with out shanks for the bottom of the shocks and then used 3mm bar at the top set deep into the plastic to mount the upper ball joint. Haven’t tested it yet but it should be good only weak point is the upper mount and if they fail it’s just some 3mm bar and eight 3mm nuts to create a really strong solution.
Also got a turnbuckle tie-rod set for the steering tamiya stuff really nice, some day now I’ll mod the chassis for a little bit more articulation get the handling more scale, shocks aren’t long enough for an out right rally car so I’ll just stick to tarmac rallying.
Bloody gilera can’t even bloody sit there bloody quietly with out some bloody thing breaking. fecking!!!
Right now I’m servicing this thing, oil in the frame had me stumped for a minute when only 500ml’s of oil came out of the engine 🙂
The honda 50 challenge battle scars, ted still made it around the ring of kerry despite the petrol tank (which doubles as a seat) cracking and letting out quite a lot of petrol and ruining the paintwork.
Also I’ve been playing with the busa’s suspension found out the standard setting and it’s still wasn’t right… then I got a manual from carlslater.com, I had the compression and rebound adjusters the wrong way around, DOH!
XTDR250, rear mounts done.
Inner mount tack welded in.
Outer mount weled up beatifully.
Then it went a bit wrong, welded the inner mount outside in the bright sun and it was a fine weld just a bit tow much to the mount side rather then in the middle.
Outer mount bolted in with two m8’s, this is so we can take the engine in and out with the solid subframe.
Inner mount all welded back again properly, lot’s of heat went into it so it bent a tiny bit. worried that it was bent all over the place so i chucked the engine into the frame to check alignment.
Held up the front with rope and lo! the chain run was fine 😀
standard tzr250 pipes are not gonna work
Not a lotta space for a high up rad. low rad will catch a lotta crap from the front wheel.
Looks like it could wheely away forever.
XTDR250, rear mount.
Looking at tdr pics on the net, I should have loads of space for tdr250 pipes, only concern is the width of the frame near the stingers.
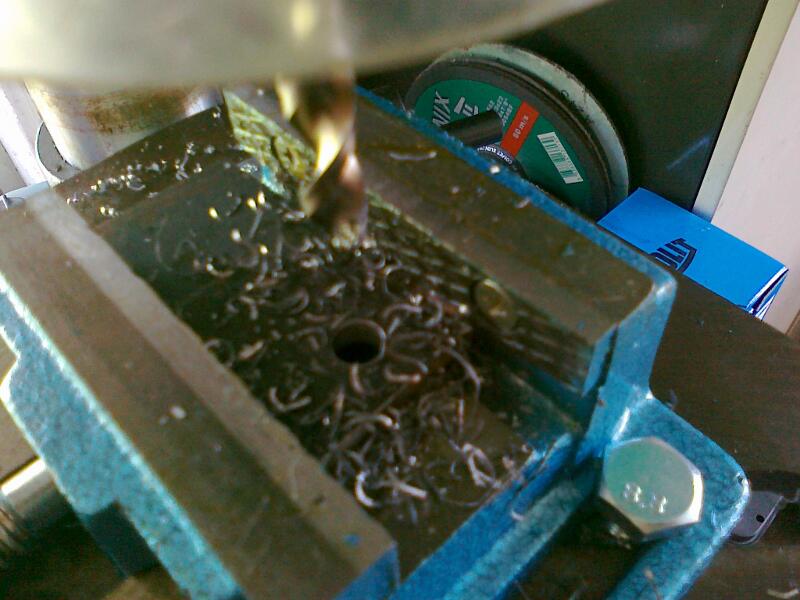
Bought a new m10 drill bit, old one was extremely worn and got started on the rear engine mounts.
One down, will weld this in on Thursday.
Second one half done, making this one a bolt in job because i decided to weld in the subframe and needed the clearance to get the engine out again in the future.
XTDR250, clamped in jig.
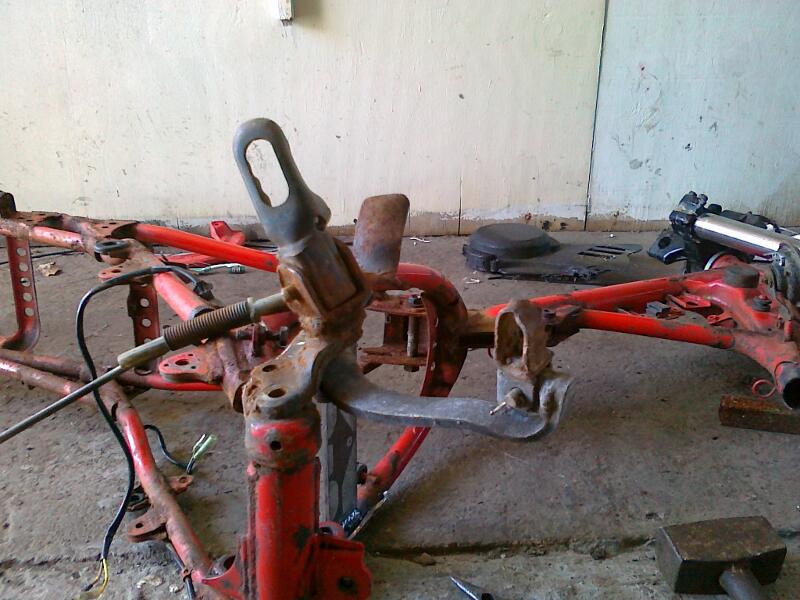
Other day i chopped off the this badly welded on foot peg. Haven’t put it back on yet.
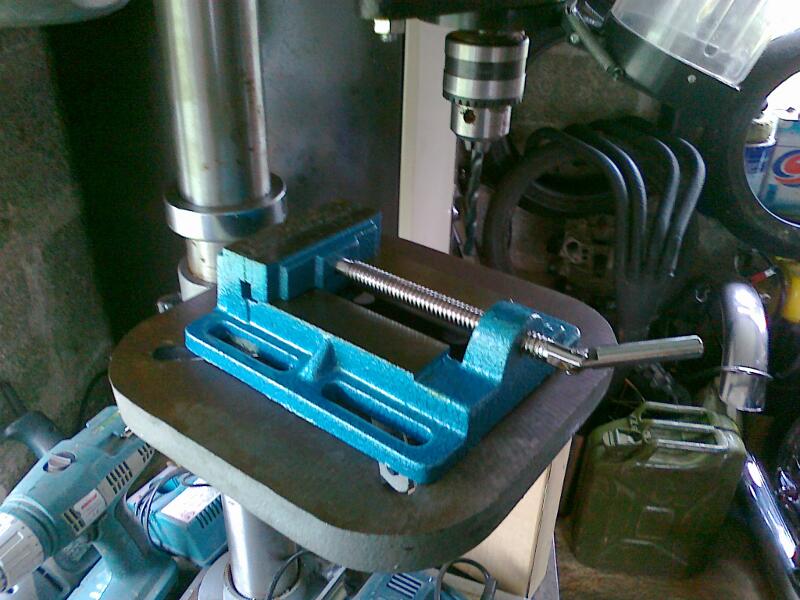
Today i turned up with this, now i can use the very powerful pillar drill to make holes in my 6mm thick steel 🙂
Missing this spacer, probably gonna have to make a new one.
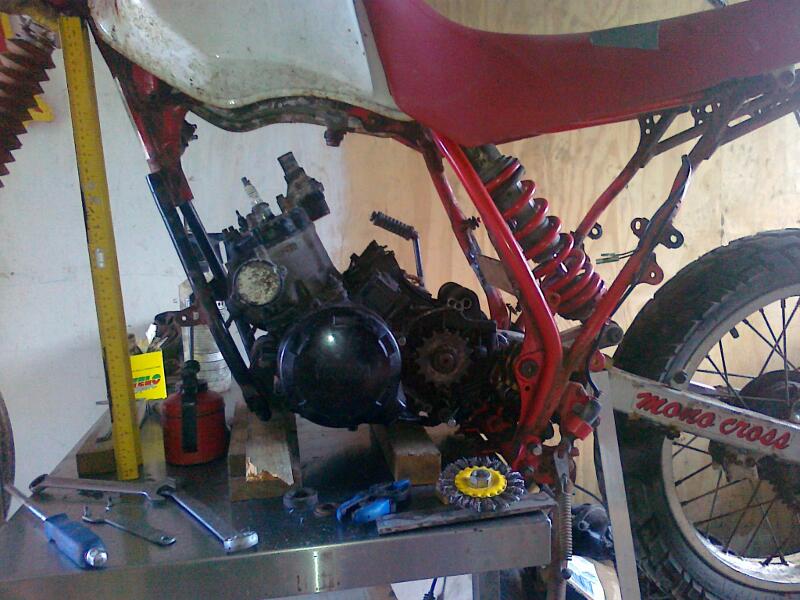
Engine all blocked up and level, frame now clamped at the rear.
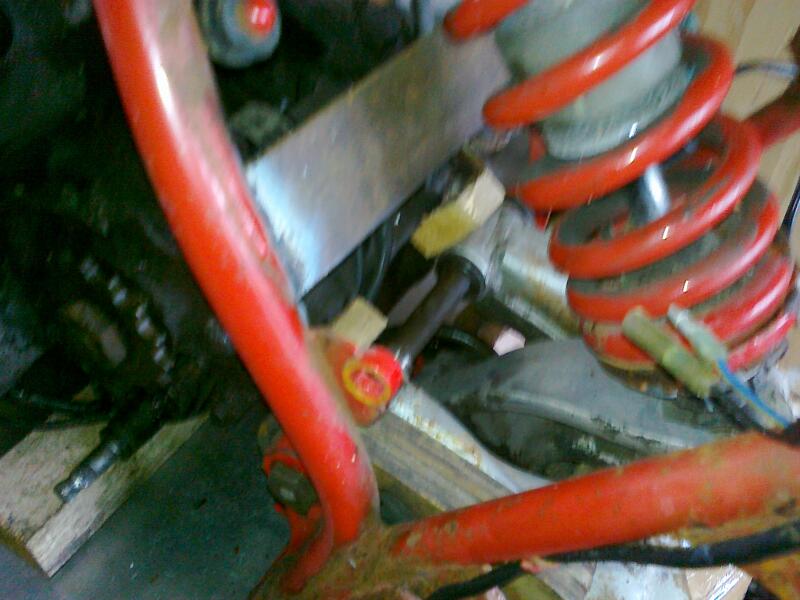
used two blocks of wood to make sure the engine was aligned properly to the frame, will change these for some thing smaller later, gotta get the engine further back.
I needed the rear wheel on so i could sort the chain run, that made the rear very heavy so i put the front wheel on too, this reveled that the chassis wasn’t quite on the level so i raised the front of the engine again so it should be level in the frame when it’s finally on its wheels.
Cute little clamps i bought ages ago coming in handy.
Used a front spacer temporally on the back to align the wheel.
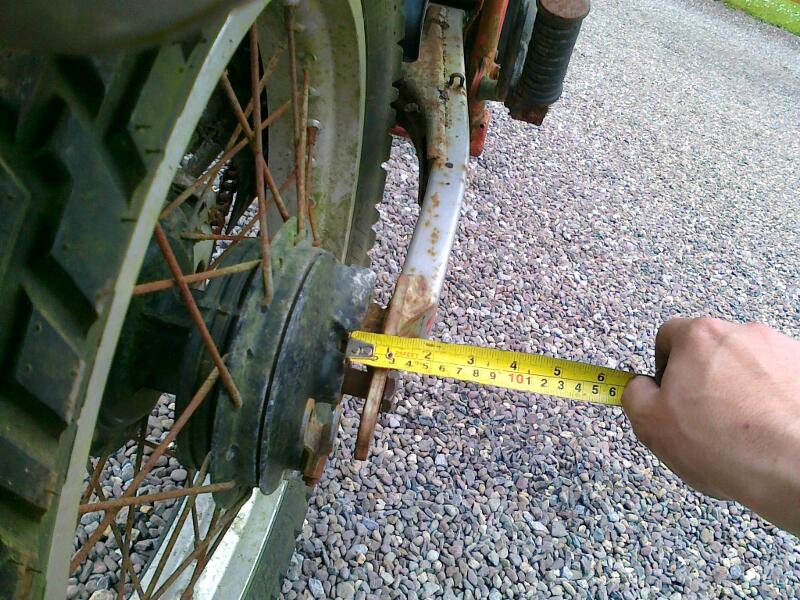
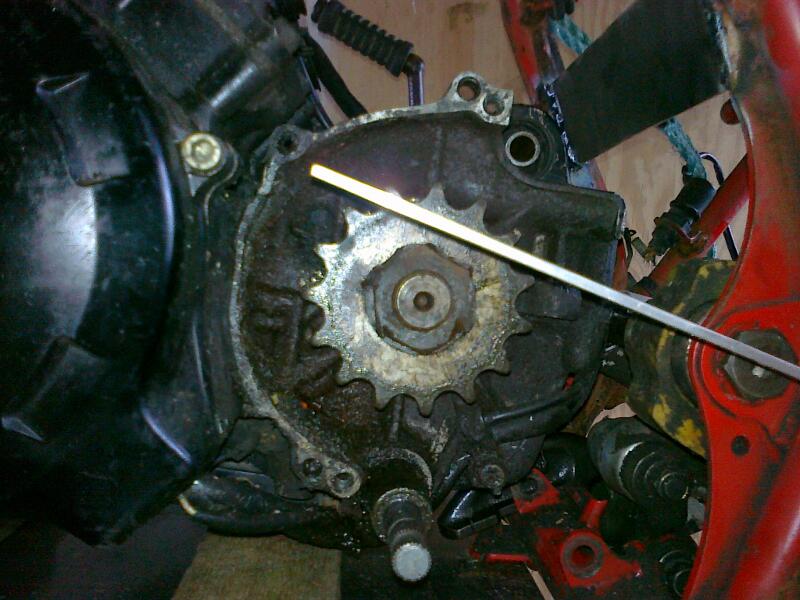
now gotta find out what squat i need, at the moment the axle to the sprocket is 10cm and the sprocket up to the squat line is 3cm, once the static sag is taken up  that 3 cm will drop quite a lot so i gotta figure out what exactly i need before i start welding.
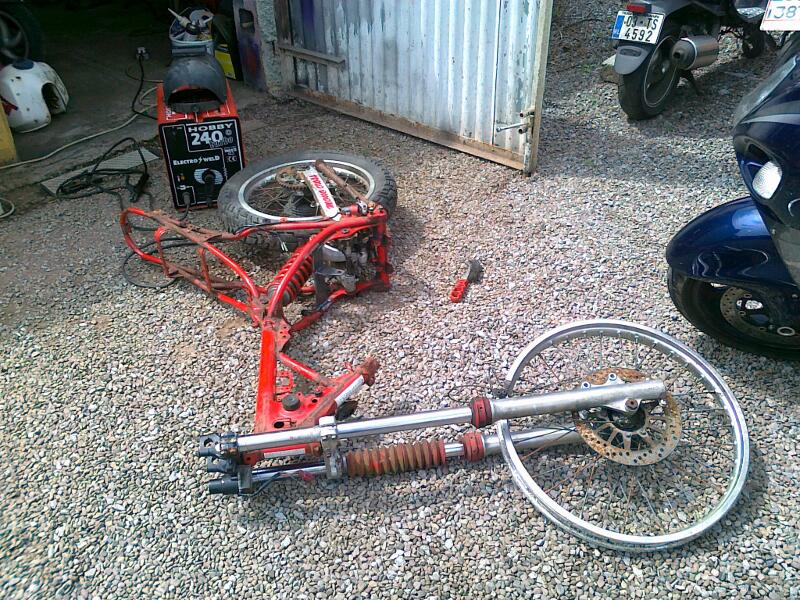
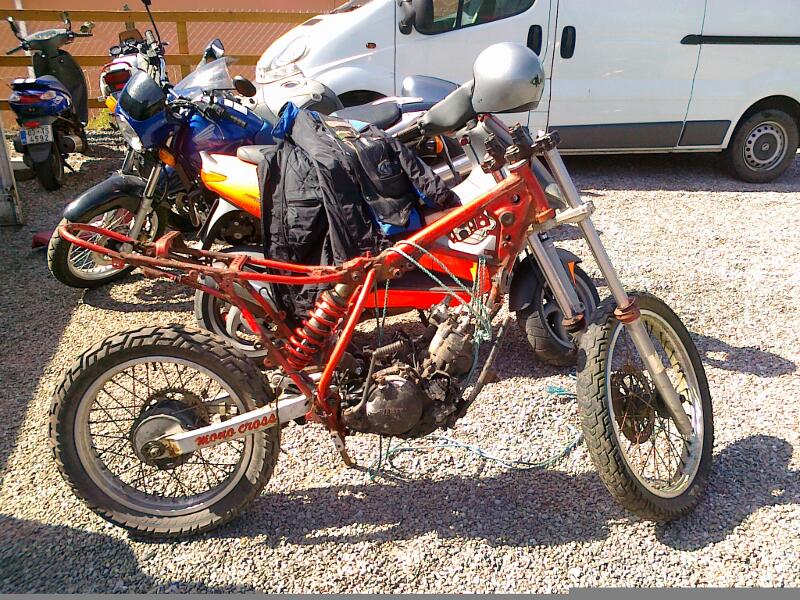
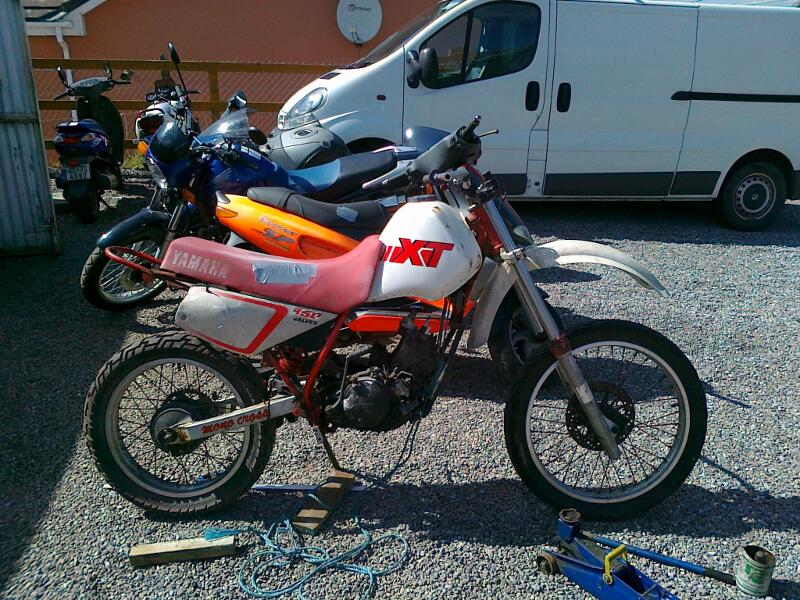
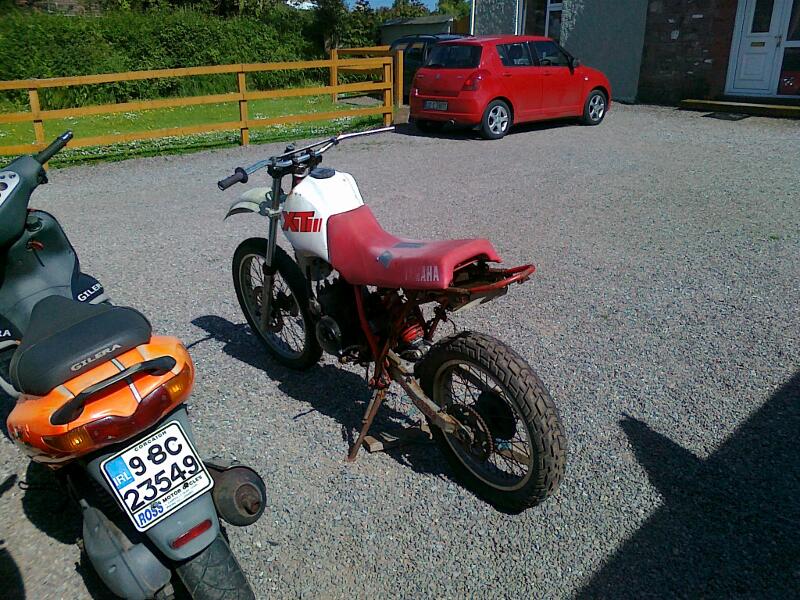
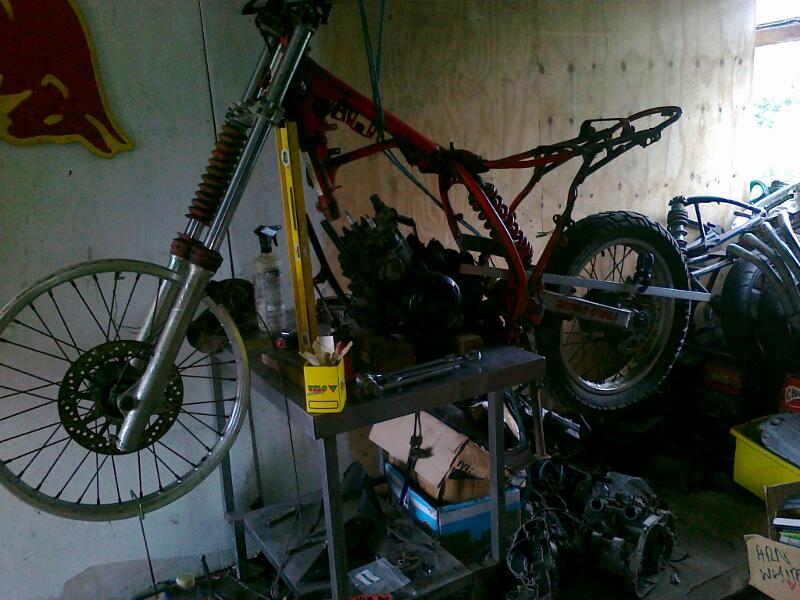
xt350 with tzr250 motor
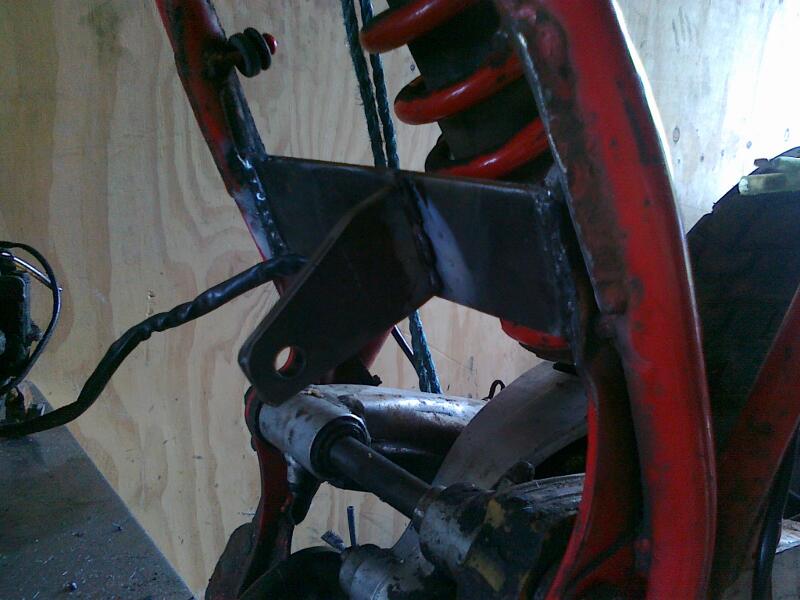
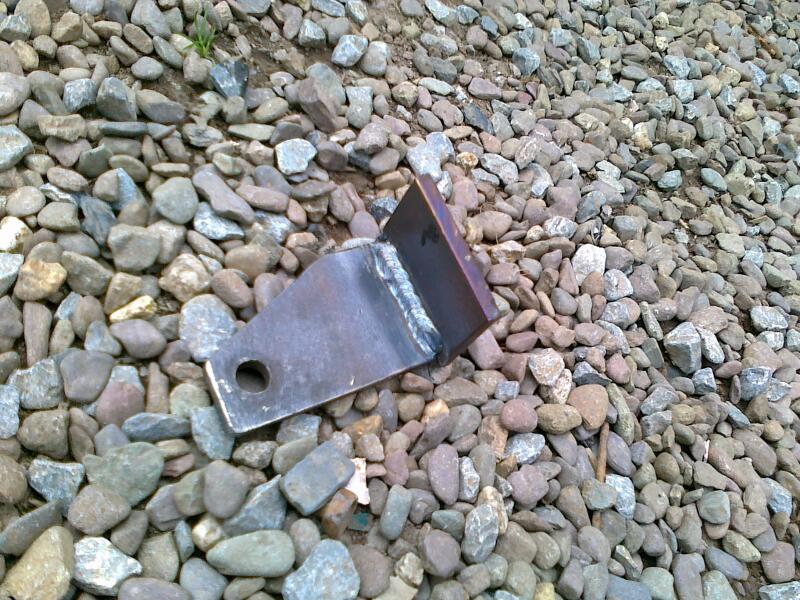
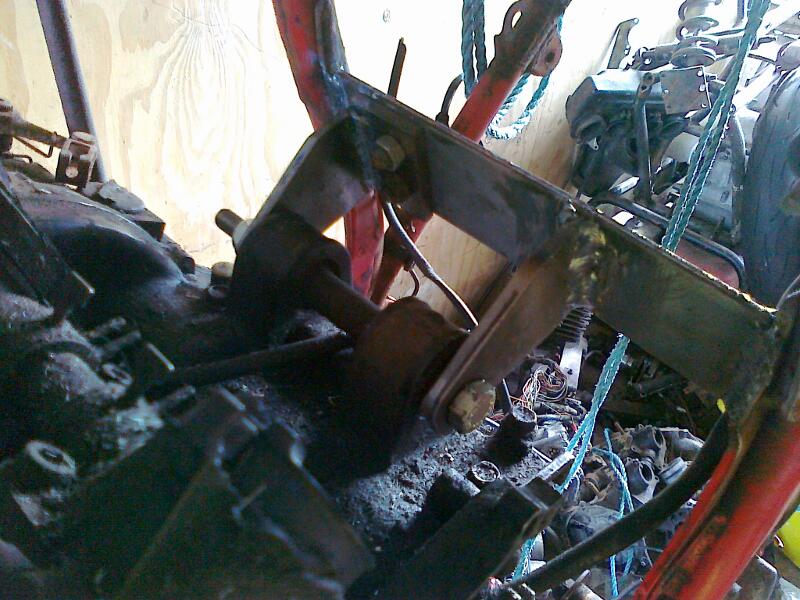
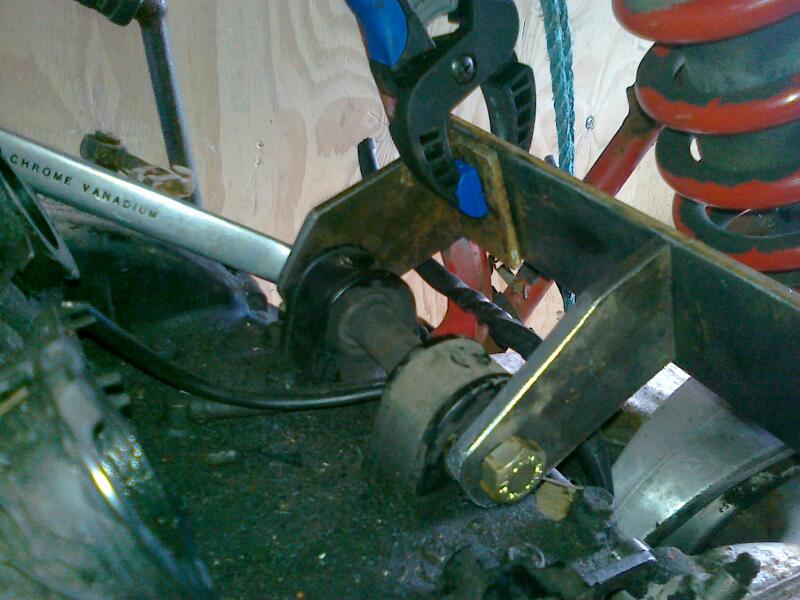
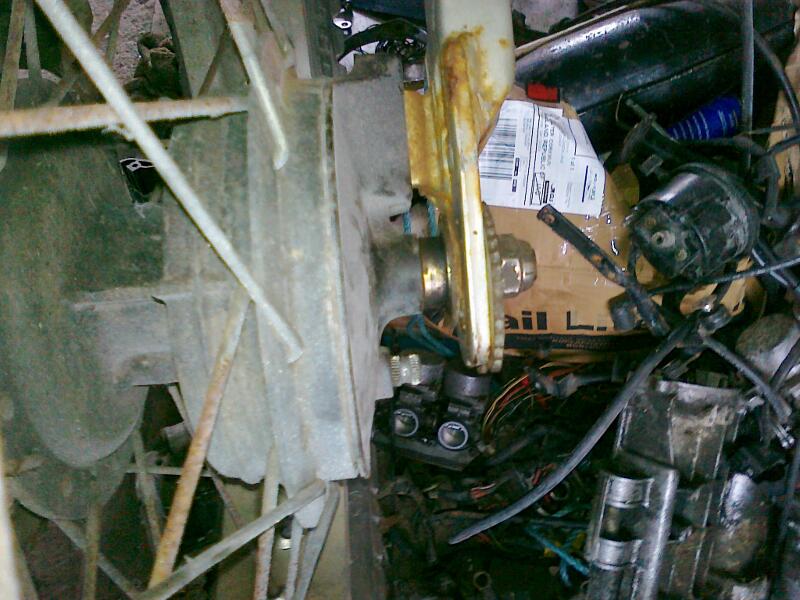
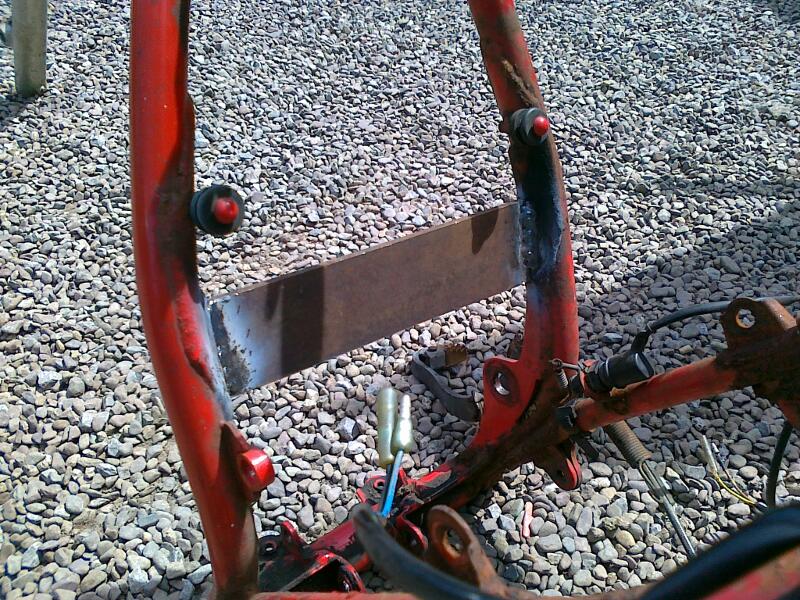
Well not too much done today, took the frame off the engine and took out the rear suspension, then arc welded a plate onto the frame for the rear engine mount.
Can’t see too well in the pics but the welds turned out beautiful!
Used 6mm steel because it’s all i had, 4mm would have been lighter with a little brace around the back probably stiffer too.
Gotta place the engine back into the frame now and continue with the rear mount.
Had a look on bikepics.com last night, some hardcore xt’s there and as a supermotard it really looks well as, not tempted to do that unless i really can’t afford tyres. More then a fair share of pics with blown engines in them 🙂
